
Upgrade the MFJ1234 RigPi to improve speed, reliability and capability
I like my MFJ 1234 RipPi. I was already experimenting with Pi based remote station servers before this product became available.
The MFJ1234 RigPi provides all the hardware and software needed fo Ham Radio use right out of the box. Making it easy to connect your radios through a dedicated remote server. The RigPi software has a great support network so plenty of help is available.
As with all Raspberry Pi's the SD can get corrupted from time to time. Also, the radio applications can be a little laggy and this is a problem.
I was interested in making things a little more snappy and possibly more robust. For me, the answer was to swap the Pi3 for a Pi4 and to add a Solid State Disk.This modification provides the following advantages:
- More robust - No SD card to corrupt
- Boots up quickly from the SSD
- Increased speed and responsiveness of applications
Perfect for Ham radio use. Below, I'll share exactly how I did this.

RigPi speed improvement parts list
These are the parts I used:
- MFJ1234
- RigPi V2 software
- Raspberry Pi4 (I used a 4Gb version) - The Pi4 makes good use of the SSD due to the upgraded USB 3 ports
- Pi 4 PSU 3A - It's a different USB-C type (don't go cheap)
- SSD drive - I used a 240Gb Kingston SSD
- SSD to USB lead - StarTech.com SATA to USB Cable - USB 3.0 to 2.5” SATA III
- Powered 3.0 USB hub (I used the ''Amazon basics hub)
- Silicon adhesive
- Rubber feet
Power, power power
For me, I find most Raspberry Pi issues relate to power supply issues. You'll need a suitable 3 Amp Raspberry Pi 4 PSU. I'd recommend the official Raspberry Pi 4 PSU.
You'll also need a powered USB 3 hub for the SSD. The Pi will not power the SSD reliably without a powered hub.
You'll need the RigPi V2 software to use a Pi4
Install the buster RigPi V2 image and make sure this is working correctly if this has not already been done. I've read that the RigPi V1 image will not work on a Raspberry Pi 4.
Fit the Pi4 to the MFJ1234
First, carefully take your MFJ1234 apart. Make sure you protect the PCB's from ESD. Carefully prise the boards apart. Remove the Keyer collar before removing this PCB, if you don't you'll damage it.
Then rebuild with the Pi 4, the new Raspberry Pi will fit with no problems.
Take your time, check and check again.
Don't fit the lid at this point.
Test the RigPi fully with the Pi4 before fitting the SSD
Make sure this is all working correctly for you before moving on. This is the image that will be migrated to the SSD.
Use your upgraded RigPi like this for a few days to know that everything is working fine.
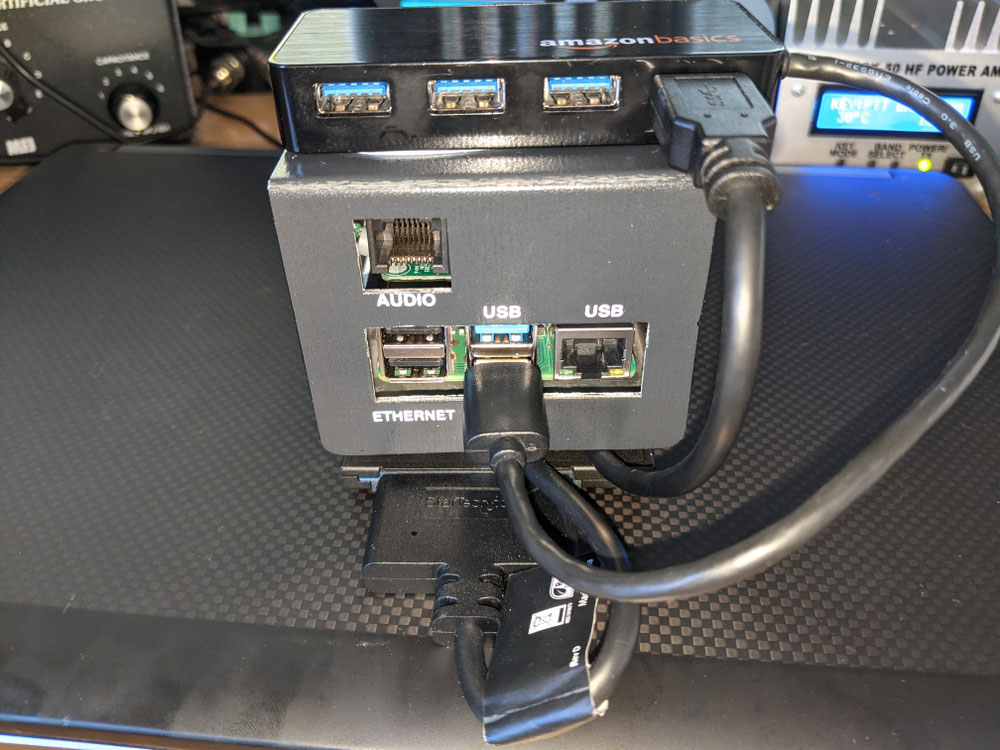
Widen the lid aperture to allow access to all USB ports
If you're using the MFJ case, you'll need to widen the original Ethernet aperture to accommodate the USB ports. You will need to do this.
I covered the lid in masking tape, then used a flat file to carefully widen the hole. Very easy.
Stopping at this point maybe enough. But to really beef things up an SSD is the only way to go!
Fit the SSD to a RigPi
With the Pi powered off. First, connect the powered USB hub to a Blue USB 3 port (not black) on the Pi.
Then connect the SSD lead and SSD into the powered hub.
Switch on power to the USB hub. You should see some SSD activity on the status led on the SSD lead. Then boot up the Pi in the normal way. Everything should work fine.
Copy the RigPi image to the SSD
Follow these instructions carefully from this external webpage: https://www.tomshardware.com/uk/how-to/boot-raspberry-pi-4-usb. This will allow the Pi4 to book from the SSD, making the SD card redundant.
Summary
1) Update the Pi, and its firmware.
2) Copy the current image to the SSD using the Pi OS Disk copier
3) Change the Pi Bios to boot from the USB
4) Switch off, remove the SD card and reboot
Test your SSD
Now test the Pi to ensure everything works. Connect your USB peripherals and make sure these work. That's it! You should now notice that the Pi is far quicker and more responsive than before.
Keeping things tidy
Now it's probably not practical to have wire dangling around all over the place, also there is another config change we can make to the Pi.
1) To stop your Pi from continually searching for an SD card, add the following to /boot/config.txt:
- dtparam=sd_poll_once
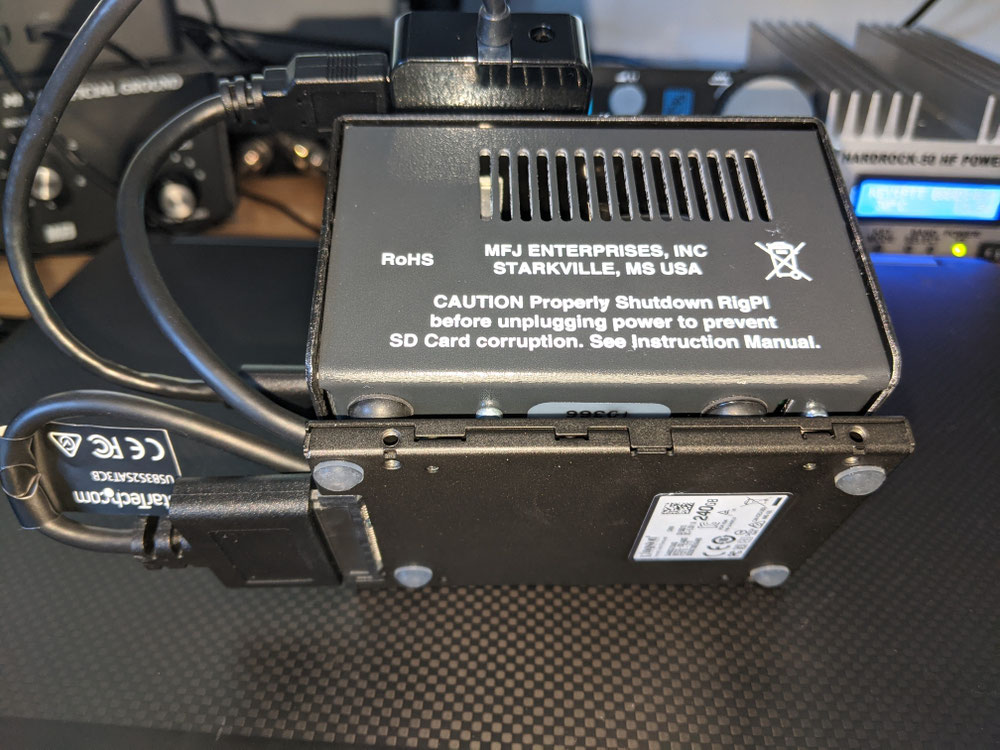
2) It's probably would not be good to have an SSD flapping around. So I fixed mine to the underside of the MFJ1234 housing using silicone rubber. I then added some sticky feet to the SSD.
3) As with the SSD, I fixed the USB hub to the top of the housing using stick pads. That kept everything nice a neat.
The end result was a much faster RigPi
Wow. This upgrade really enhances the speed and responsiveness of the MFJ1234. Fldigi is smoother and easier to use, boot times are reduced, the applications are all much snappier. All good improvements.
Power limitations of the Pi mandate the use of a powered USB 3 hub. Good power supply choices always and dramatically improve Pi reliability. For me I could not get the SSD to work without the powered hub.
Not a low-cost project. But these simple changes certainly deliverer a noticeable improvement to this already great system. Adding an SSD to a Raspberry Pi is a cool thing to do, so this is a great project for people who like tinkering with these things.